We're building a proper education platform with structured lessons, exam-board-aware content, and mark-scheme understanding at its core for GCSE, A-Level and BTEC.
See updates
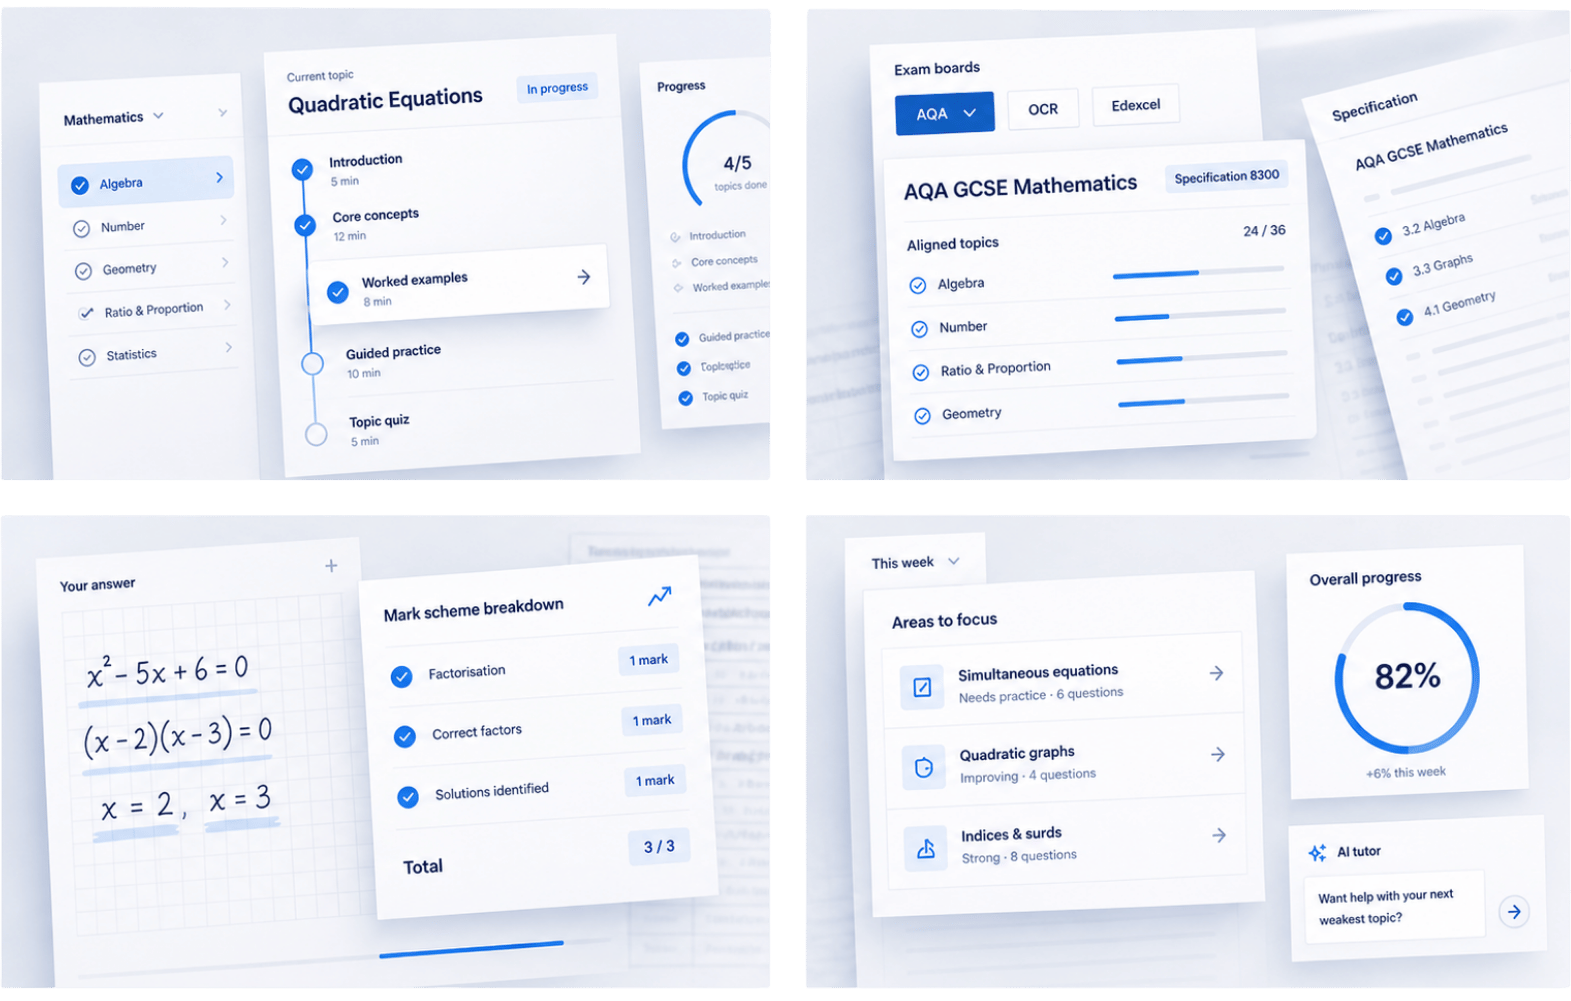
Structured lessons, practice and mark-scheme-aware learning
across the UK's major exam boards for GCSE, A-Level and BTEC.
Structured lessons, guided practice and mark-scheme-aware feedback
that turn weak topics into real progress.
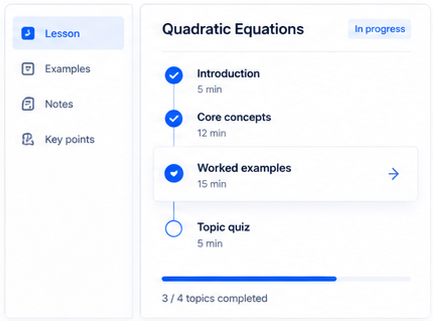
Step-by-step lessons broken into manageable topics.
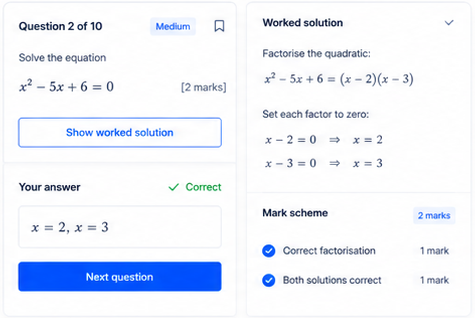
Targeted questions and exam-style tasks matched to your spec.
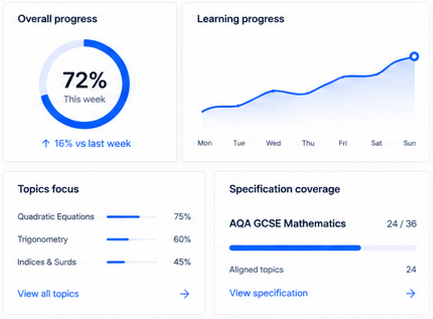
See progress, focus areas and specification coverage at a glance.
Build understanding
Apply and improve
Measure and grow